
Installing a parquet floor is more than just a home improvement project—it’s a chance to create a design masterpiece under your feet. Known for its intricate patterns and timeless charm, parquet flooring brings elegance to any space. While a DIY project might seem daunting, with the right approach and solutions, even beginners can achieve professional-looking results.
Let’s tackle the common challenges of DIY parquet flooring and show you how to transform your space into a stunning work of art..
Challenge 1: Choosing the Right Pattern
The Problem:
Parquet floors are defined by their geometric patterns, such as herringbone, chevron, or basket weave. Selecting the right design for your space can feel overwhelming.
The Solution:
- Start with Room Size:
- Small Rooms: Go for simple patterns like brick bond to avoid overwhelming the space.
- Large Rooms: Experiment with bold designs like Versailles or double herringbone for added drama.
- Match Your Style: Sleek, straight patterns suit modern spaces, while intricate designs complement traditional homes.
Why It Works: The right pattern sets the tone for your entire room and enhances its architectural features.
Challenge 2: Preparing the Subfloor
The Problem:
An uneven or poorly prepared subfloor can lead to gaps, creaks, and a shortened lifespan for your patterned wood flooring.
The Solution:
- Level It Out: Use a self-leveling compound to create a flat surface.
- Clean Thoroughly: Remove all dust and debris to ensure proper adhesion.
- Moisture Barrier: Install a vapor barrier if your subfloor is concrete to prevent moisture damage.
Why It’s Important: A stable foundation ensures your parquet floor looks flawless and lasts for years.ational Thought: Parquet flooring bridges the gap between history and innovation, making it an ideal upgrade for any style of home.


Challenge 3: Cutting and Arranging the Pieces
The Problem:
The intricate design of parquet flooring requires precise cutting and placement, which can be intimidating for first-timers.
The Solution:
- Use Templates: Create cardboard templates of your pattern to test the layout before committing.
- Invest in Tools: A miter saw and jigsaw are essential for clean, accurate cuts.
- Mark a Centerline: Begin your pattern in the center of the room and work outward to maintain symmetry.
Pro Tip: Dry-lay a section of your parquet floor to visualize the final result and make adjustments as needed.ture resistancequally stunning results..
Challenge 4: Securing the Parquet Pieces
The Problem:
Ensuring each piece stays in place without gaps can be tricky, especially for detailed designs.
The Solution:
- Adhesive Application: Use high-quality wood adhesive and apply it evenly to the back of each tile.
- Taping: Temporarily secure pieces with painter’s tape while the adhesive cures.
- Roller Finish: Use a heavy roller to press down the tiles and remove air pockets.
Why It Matters: Proper adhesion prevents shifting and ensures a seamless finish. your homee.

Challenge 5: Finishing Touches
TThe Problem:
Even the best-laid parquet floors can look unfinished without the right final touches.
The Solution:
- Sanding: After installation, sand the floor lightly to create a smooth, uniform surface.
- Seal or Stain: Apply a protective sealant or stain to enhance the wood’s natural beauty and protect it from wear.
- Edge Trim: Install baseboards or trim to cover gaps along the walls for a polished look.
Pro Tip: Choose a satin or matte finish for a modern aesthetic or a glossy seal for traditional elegance.ng may require a higher upfront investment, its longevity and timeless appeal make it a valuable upgrade for your home.
Challenge 6: Maintaining Your Parquet Floor
The Problem:
Parquet flooring requires regular care to maintain its beauty and durability.
The Solution:
- Regular Cleaning: Sweep or vacuum with a soft brush attachment to remove debris.
- Avoid Water Damage: Use a damp (not wet) mop with a wood-safe cleaner.
- Recoat Periodically: Apply a new layer of finish every few years to keep your floor looking like new.
Why It’s Worth It: Proper maintenance ensures your geometric wood designs remain stunning and functional for decades. time.bility.
DIY Parquet Floor: Transform Your Space with Stunning Patterns
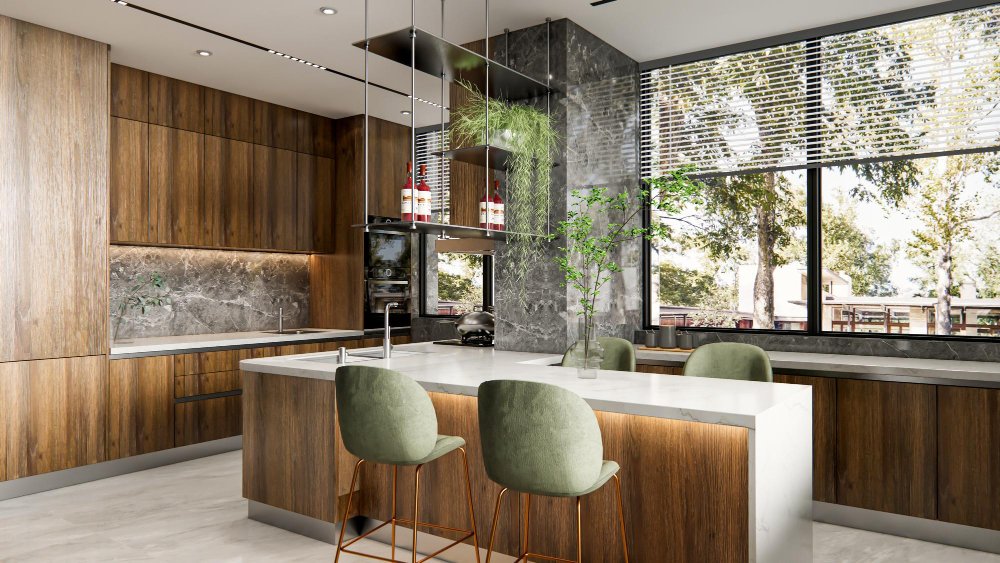
DIY Kitchen Cupboards: Creative Solutions for Your Home
Weekend DIY Projects for Every Skill Level
Transforming your home doesn’t have to involve major renovations or professional help. Weekend DIY projects…
Why a DIY Parquet Floor Is Worth It
Tackling a parquet floor as a DIY project is an investment in both your home’s value and your creative spirit. Not only does it allow you to customize your space with unique patterns and designs, but it also offers the satisfaction of knowing you accomplished something extraordinary.
- Affordable Luxury: DIY parquet flooring costs a fraction of professional installation.
- Creative Freedom: Design and execute a pattern that reflects your style.
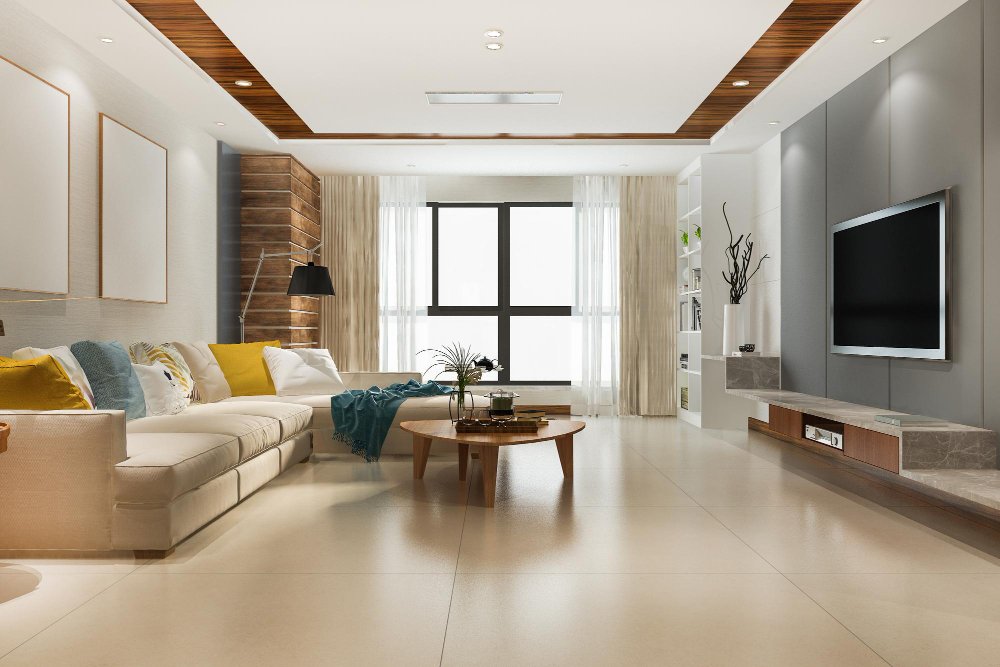
Transformative Impact: A beautifully crafted parquet floor becomes the centerpiece of any roomality..
Final Inspiration
With the right preparation and mindset, you can turn your parquet flooring project into a statement of art and craftsmanship. Start small, plan carefully, and let your creativity shine. Your dream geometric wood design is just a DIY project away. Let parquet flooring be the foundation for your home’s story, combining tradition and innovation in a way that’s uniquely yours.